Recently I was working on a sleeping bag for a doll, and I was looking around the house for a doll or stuffed animal that I could use to test out the size. I didn’t use it because it was too big, but I did look at a doll of sorts that I made a long time ago in sculpture class when I was working on a B.F.A. degree at SIUE. At the time I had taken the class, I had just been on a trip to Utah and had brought back with me some books on Native American petroglyphs and stone fetishes. I made a throw pillow sized soft wolf fetish with blanket and soft arrowhead for my late friend June for Christmas that year. We both shared an intense interest in Southwest travel and art. For class I made a humanoid stuffed figure with amulet bag, loincloth, and blanket.
While making the soft sculpture, although inspired by ancient Native American art forms, I did not want to refer to any particular culture exactly, rather I wanted to evoke an ancient sense of humanity that many cultures share. Throughout human history there were many ways to wear and use blankets as a part of clothing and outerwear before things like buttons and zippers were invented, and of course people still use and wear blankets in many ways today. For my soft sculpture’s blanket I chose a fabric in a garish early 1990s fabric pattern to suggest a striped blanket but not imitate any particular culture.
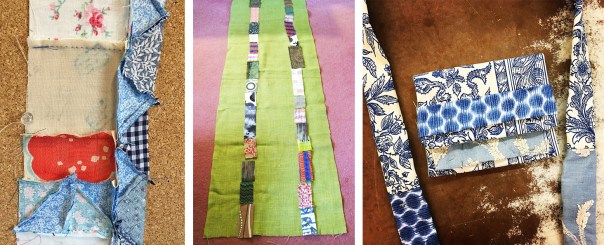
While working on my doll sleeping bag, I decided it was a good time to update the look of my soft sculpture. Since teaching at JoAnn Fabrics and Crafts from 2016-early 2020 I’ve been working a lot more with fabric. I decided to start with the blanket. I have a large collection of scrap fabric that I like to sew into strips to use in projects such as art quilts, purse straps, water bottle carrier straps, table runners, headbands, and more. I thought the blanket I made for the soft sculpture would look more attractive with some added strips of scrap fabric so I started piecing and sewing strips in place.


Here is how to start a scrap strip. Decide on a color scheme and lay out pieces of fabric to use. Here I decided on a neutral scheme for a future project.
Place fabric pieces good side together, and pin along one edge. Keep going until you have pinned enough pieces to make a strip as long as you need for your project. The first two photos show the same strip from the front first, and then the back, after pinning.
Using a washable fabric marking pen and a ruler, draw a line along one edge, leaving a small seam allowance. Drawing the lines will help you keep your seams straight.
Sew all the pieces together and you’ll have a strip that you can use for many projects.

